For GTA sellers, 7 listing preparation checklist priorities
A 4-6 week, seven-step listing preparation checklist for Toronto and GTA sellers: room-by-room tasks, repair priorities, staging tips and CMA next steps.


For GTA sellers, 7 listing preparation checklist priorities
Use this listing preparation checklist to map the tasks you should start 4 to 6 weeks before your Toronto or GTA property goes live. The seven numbered sections below move from safety and mechanical priorities through cosmetics, photo-day prep, documents, showings, and the offer-ready steps. Where relevant, I note condo-specific items and link to pre-construction resources for owners considering new developments.
How to use this checklist and the 4-6 week timeline
This checklist is time-based. Begin with inspections and major repairs 4 to 6 weeks before listing so fixes and contractor schedules do not delay photography or offers. The industry guidance recommends a 4-6 week preparation window to allow for inspections, deep cleans, and cosmetic refreshes before photos and showings, which is the timing used here How to Prepare Your House for Sale.
When to start
Start 4 to 6 weeks out for mechanical inspections and larger repairs. Use the final week for staging, deep cleaning, and photo-day prep. If you have a short timeline, prioritise the most material items below and document everything clearly for buyers.
Printable checklist
Follow each numbered section and mark tasks as complete. If you would like a printable or downloadable one-page checklist, contact a listing agent for a PDF version tied to local market priorities.
Condo versus detached priorities
Condo sellers should prioritise condo-specific documents and balcony/amenity presentation, while detached-home sellers often need more exterior and property maintenance work. Throughout the checklist I flag those differences so you can adapt tasks to your property type.
1) Inspect and prioritise structural, mechanical and safety repairs (start 4-6 weeks out)
Begin with a pre-listing inspection or contractor walkthrough to find any roof, foundation, electrical, plumbing, or HVAC issues. Address anything that could materially reduce buyer confidence or prevent financing. Industry advice is to fix major issues in advance rather than wait for buyer discovery, because unresolved structural or mechanical problems tend to reduce negotiation leverage Home Selling Checklist: Guide to Selling Your Home in Canada.
Who to hire
Hire a licensed home inspector for a pre-listing report, then obtain quotes from certified contractors for any recommended repairs. For condos, work with property management to confirm any building-wide issues and obtain the status certificate where available.
Budgeting repairs
Create a simple decision framework: fix anything that will stop appraisal or financing, fix issues that would materially lower offers, and disclose lower-risk cosmetic defects in your listing documents. Keep receipts and repair records to include in the offer-ready document package.
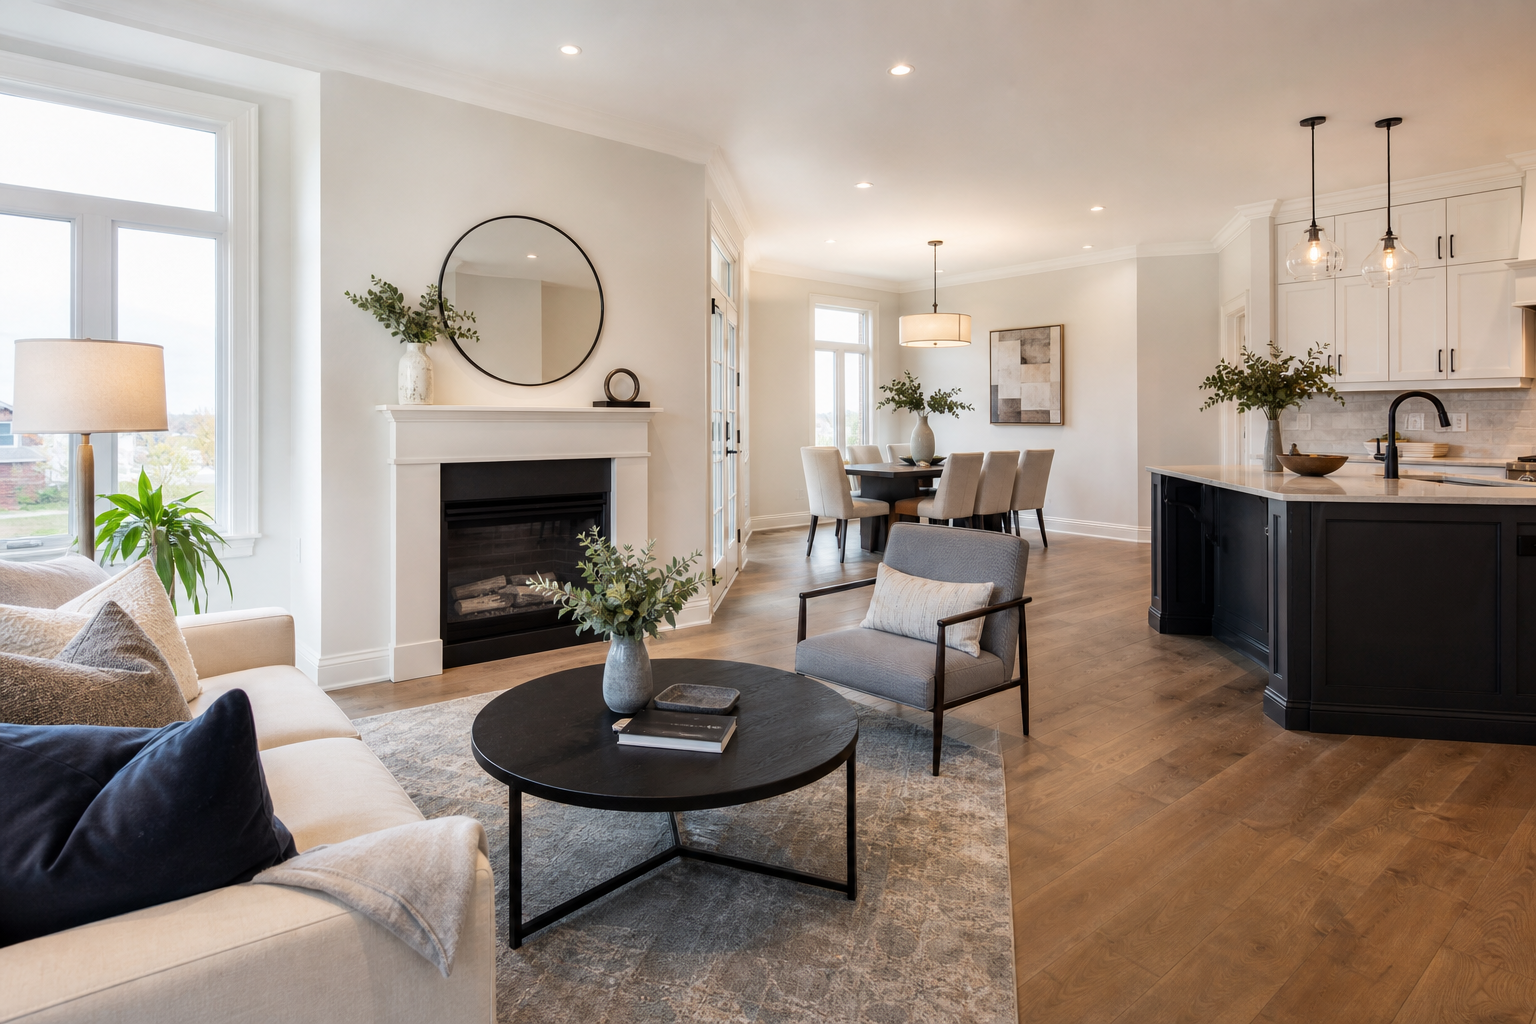
2) Decide on cosmetic refreshes and staging approach: DIY, partial, or professional

Cosmetic work can make a strong difference but should be chosen against local comparables and price band. Consider three approaches: DIY low-cost fixes, targeted investments for high-impact rooms, or full professional staging. Use local sold properties and live MLS data to decide which option matches buyer expectations in your neighbourhood; Sankalp Marwaha Real Estate integrates live MLS listings and sold context to help make that call Sankalp Marwaha Real Estate.
When staging is worth it
Professional staging is most valuable in higher-price segments, in competitive condo markets downtown, and when your property has layout or lighting issues that a stager can address. If your budget is limited, focus staging on the living area and primary bedroom.
Low-cost staging checklist
- Fresh neutral paint in high-traffic areas and touch-ups where photos will focus.
- Declutter counters and closets to show storage capacity.
- Remove personal photos and strong décor to help buyers visualise the space.
- Replace tired light fixtures and ensure consistent, warm lighting for photos.
Condo-specific staging tips for Toronto high-rises
Prioritise balcony cleanup, amenity area photos, and clear signage for parking or locker spaces. If you are exploring new construction or resale versus pre-construction options, see the dedicated pre construction resource for buyers and sellers pre construction.
3) Room-by-room declutter, deep clean and photo-day prep
The final week should focus on a deep clean and room-by-room prep for photography and initial showings. Create a simple plan for exterior curb appeal and each interior area so photos show the property at its best.
Exterior and curb appeal
- Mow and edge the lawn, remove weeds, and trim shrubs.
- Pressure wash siding, walkways, and the driveway if needed.
- Repaint or repair the front door and ensure house numbers are visible.
Kitchen and bathrooms
- Clear countertops to a few curated items and polish hardware.
- Deep clean grout, replace torn caulking, and ensure faucets work smoothly.
- Replace missing or worn outlet covers for a finished look.
Bedrooms and storage
- Make beds with neutral linens and hide under-bed clutter.
- Partially empty closets so buyers can see storage depth.
- Remove bulky furniture that blocks sightlines or traffic flow.
For condos, include balcony staging and tidy any visible concierge or shared-entry areas. Make arrangements for pets during photo day and showings to avoid surprises.
4) Book professional photos, virtual tour and plan listing launch timing
High-quality photography and a virtual tour are essential in competitive Toronto and GTA markets. Schedule photography after staging but before routine daily clutter returns. Prioritise kitchen, living room, primary bedroom, and outdoor spaces, and consider twilight or drone shots for detached homes when appropriate.
Technical tips
- Ask the photographer for wide-angle interior shots, well-balanced natural light, and consistent colour correction.
- Capture floor plans or a 3D virtual tour to help remote buyers pre-qualify the property.
- Time your listing launch for high-traffic days, typically mid-week or early in the weekend cycle in local markets.
Photographers often recommend a short window after staging so the property looks freshly presented in MLS and third-party sites. Work with your agent to pick the best window for your neighbourhood.
5) Assemble an offer-ready document package and warranties
Sellers who provide a clear document package make it easier for buyers to proceed and reduce negotiation friction. Prepare appliance manuals, ages of HVAC and roof, service and repair records, recent utility bills, renovation permits, warranties, and any recent inspection reports. A tidy document set signals transparency and speeds due diligence How to Prepare Your House for Sale.
Condo-specific documents
- Obtain the condo status certificate and rules about rentals, pets, and parking.
- Include documents showing condo fees and what those fees cover.
Label scanned documents clearly and keep digital and printed copies ready for your listing agent to share with qualified buyers.
6) Plan showings, open houses and privacy/safety steps
Create a showing plan with flexible windows but sensible limits to preserve privacy and reduce disruption. Pre-screen serious buyers where possible, secure valuables, and remove personal records or medication from visible locations. Keep a quick refresh kit on hand for last-minute touch-ups between showings.
Showings logistics
- Allow for short-notice showings if your market is active, but set boundaries for late evenings.
- Use lockboxes or agent-arranged access and require ID where appropriate.
- Consider appointment-only open houses for high-traffic listings to capture serious leads.
If safety or privacy is a concern, discuss virtual showings and pre-recorded tours with your agent to reduce unnecessary foot traffic.
7) Offer-ready checklist: comparable-backed valuation, negotiation tools and closing prep
When offers arrive, have a comparable-backed valuation (CMA) and your minimum acceptable terms ready. A CMA that uses live MLS and recent solds will tell you whether an offer is within market range and where to counter. Sankalp Marwaha Real Estate uses live MLS listings and recent sold context to prepare comparable-backed valuations and help sellers decide on pricing and negotiation strategy Sankalp Marwaha Real Estate.
Decision criteria for offers
- Price compared to the CMA and nearby solds.
- Closing date and possession timing relative to your plan.
- Conditions such as home inspection or financing and how they affect risk.
Next steps to closing
Once you accept an offer, gather closing documents, share repair receipts, and schedule final walkthrough logistics. Your agent can coordinate with the buyer's lawyer and your chosen closing team to keep timelines on track.
Frequently asked questions
How far in advance should I start preparing to list my Toronto or GTA home?
Start 4 to 6 weeks before listing for inspections, repairs, and staging. That window gives contractors time to complete material repairs and allows for a staged photo shoot before showings How to Prepare Your House for Sale.
Do I need a pre-listing inspection in Ontario and what does it cost?
A pre-listing inspection is not mandatory, but many sellers find it worthwhile to uncover issues early. Costs vary by home size and region; consult a licensed inspector for an exact quote and then use the report to prioritise repairs or disclosures.
Is professional staging worth the cost for a Toronto condo or detached home?
Professional staging is often worth the cost when it aligns with local buyer expectations and price band. For many downtown condos and higher-end detached homes, staging improves perceived value. If on a budget, focus on low-cost, high-impact improvements listed above.
What documents should I have ready to give buyers during the offer process?
Prepare appliance manuals, HVAC and roof ages, service records, renovation permits, warranties, recent utility bills, and any inspection reports. Condo sellers should add the status certificate and fee details How to Prepare Your House for Sale.
How does preparing a condo for listing differ from preparing a detached house in the GTA?
Condo preparation emphasises amenity and common-area presentation, balcony staging, and the condo status certificate. Detached houses require more exterior maintenance, landscaping, and attention to property systems like sump pumps or septic if present.
Key takeaway: follow the seven steps above and adapt priorities to your neighbourhood and property type. When you are ready to review local comparables and get a comparable-backed home valuation, request a CMA and a listing consultation to make confident pricing and preparation choices.
Written by
sankalp marwaha